
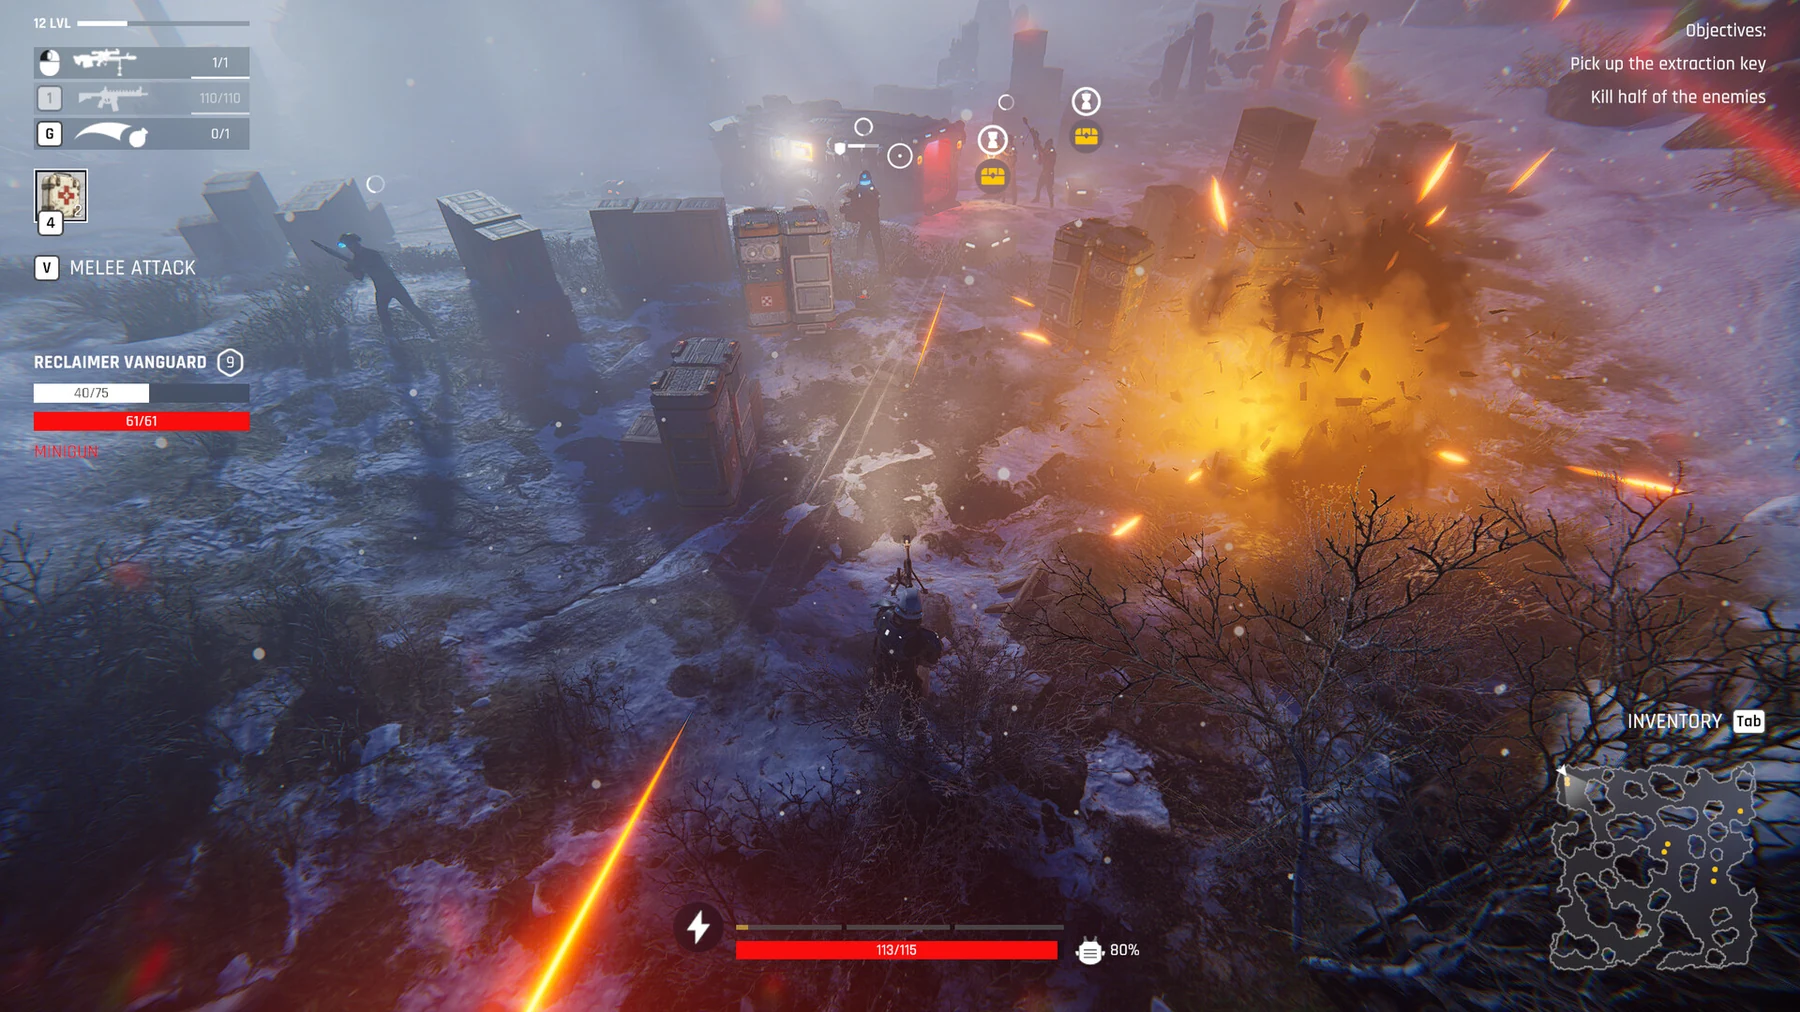
Fast answer
Choose a setting and raid that let your squad complete the objective and return with useful resources. Inspect the current menu’s risk and reward modifiers. Daily enemy scaling, Auto-Battle casualties, staffing and food needs all affect the campaign; more frequent food drops or a two-minefield limit do not make every raid safe.
Read the current difficulty menu before starting
The demo’s difficulty screen and its values predate later Early Access balance changes. Read the risk and reward effects in the current menu, then check when the setting can be changed. Pick a level that leaves enough room to learn the objective and return with supplies.
- Compare the live menu’s incoming-pressure and reward descriptions.
- Check the setting before committing to a run.
- Lower the pressure if you repeatedly die before learning the objective.
- Re-evaluate after improving equipment and recovery readiness.
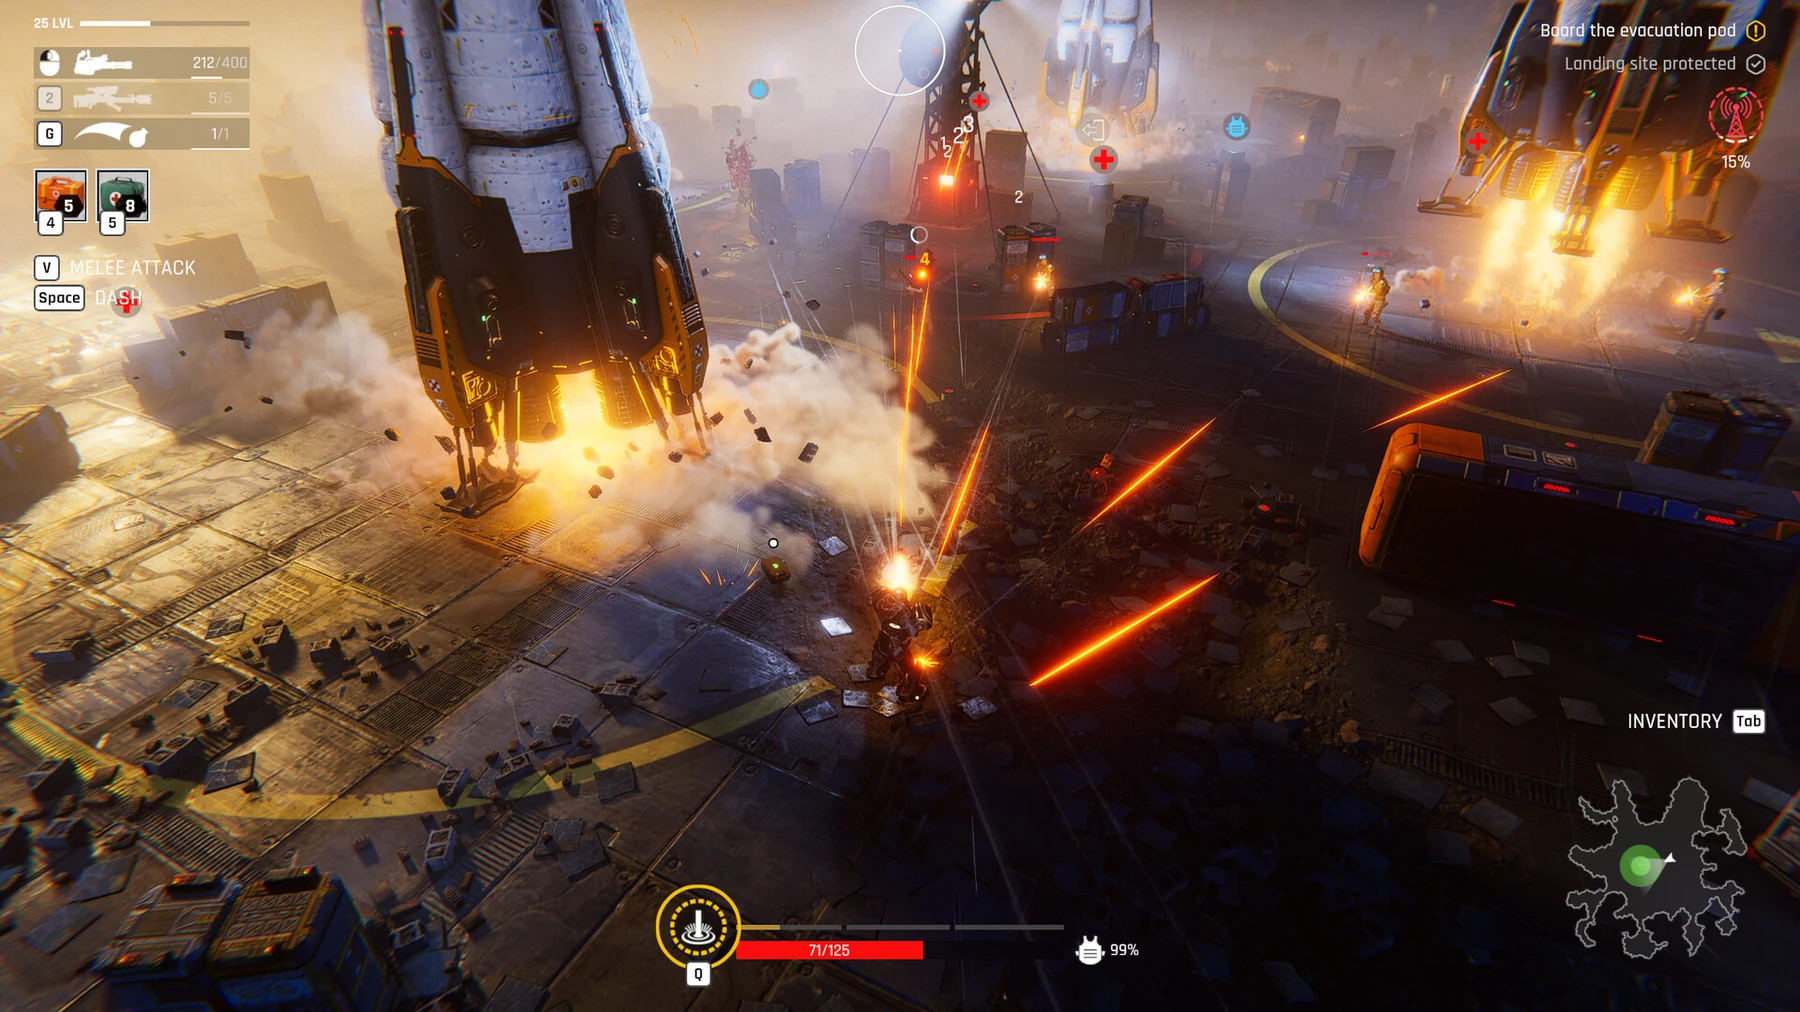
The 0.0.0.777 difficulty curve
Update 0.0.0.777 reworked pacing rather than adding a setting: the game is noticeably easier in the early days and rises back to normal values by roughly the second third of a run. That means the first days are a better place to learn routes than they were at launch, and any early-game difficulty note written before September 21 describes a curve that no longer exists. The October 15 Major Update adds a second layer: enemy damage now starts lower and climbs gradually with each passing day, so the opening stays soft but the ramp is steady.
- Use the opening days to learn maps rather than to farm.
- Expect a steady climb: enemy damage scales up with each day rather than sitting at full strength from the start.
- Treat pre-September difficulty advice as historical, not current.
Read Auto-Battle losses as part of the difficulty choice
Automatic resolution shows a proposed outcome, resources and casualties before you accept it. The small Necromatter reward added in 0.0.0.850 scales with location level; it does not make a higher-level location automatically worthwhile for your current squad.
- Read the projected casualty list.
- Consider Clinic availability and the next day’s usable fighters.
- Compare useful resources with the cost of the losses.
- Play manually or retreat if the proposed result undermines the run.
Food and recovery can justify staying at base
Food drops are about a quarter more frequent after 0.0.0.850, but that does not guarantee food on the next raid. A worker with Day Off grants bonus food on a day without a raid. Use the Kitchen display and day news to decide whether a recovery day is more useful than another risky sortie.
- Check current food and bonus-inclusive recipe output.
- Confirm that the staff actually has Day Off before counting its bonus.
- Keep the campaign day counter in view.
- Send a recovered, equipped squad rather than repeating an avoidable loss.
Fewer minefields does not remove the field checks
Locations now have at most two minefields. You still need to read terrain, keep an exit lane and watch health and armor. In co-op, the party panel makes allies’ status visible; use it before pushing into another encounter.
- Do not assume the first minefield is the only one.
- Watch allies’ health and armor before advancing.
- Keep necessary loot and the mission objective ahead of extra kills.
- Reassess the route when a door closes or enemies block the return.
Demo gameplay
Demo difficulty selection · Isaac Pendragon · demo version
Patch notes and gameplay
Follow the current patch notes for changed rules and the Steam listings for the full game and demo.